Why build one?
To be totally honest, it didn’t take much to convince me to build an Arcade Machine. I grew up during the golden age of arcades. Arcade Saloons were everywhere and people used to go to them to spend time with friends, playing arcades, snooker or even darts. It was the 80’s and 90’s and I was 15 yo. Add the fact that I was amazed at what computers could do back then and you can imagine I addicted I was to those things. I remember my mother gave me my lunch money every Monday for the whole week, and I would spend it all on the first day, playing arcades near my school. I am not proud of it…
Not long ago, I upgraded my Desktop PC, and therefore I ended up with a whole set of hardware that I had no use for. I could sell it, obviously, but the money I would get from it would not be that much. So I decided I would use it for some personal project of my own.
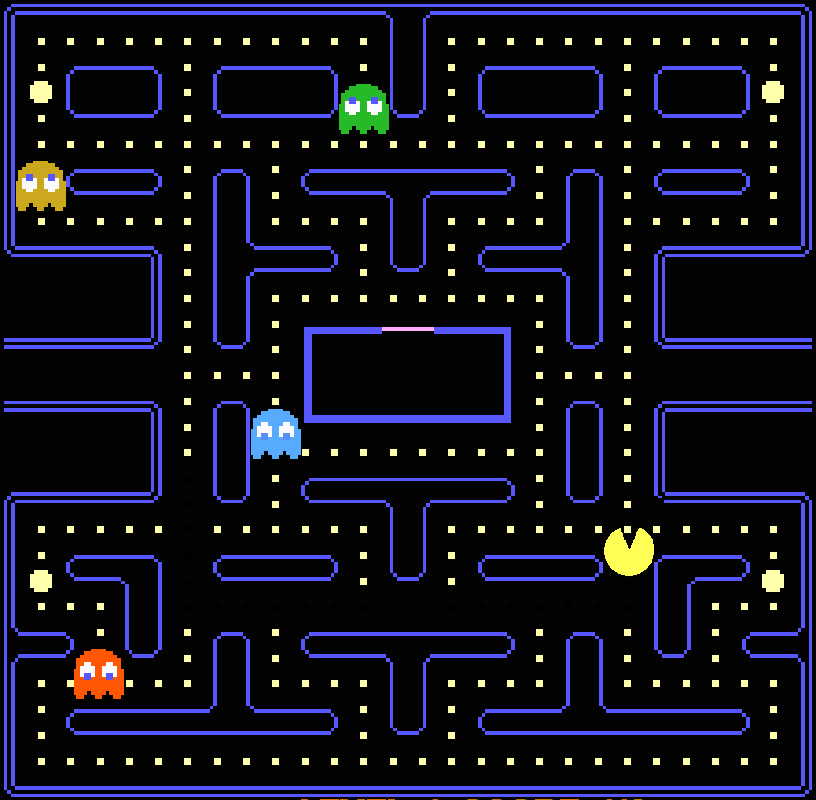
While browsing the web I found out about MAME (Multiple Arcade Machine Emulator). A project purpose which purpose is to “preserve decades of software history. As electronic technology continues to rush forward, MAME prevents this important “vintage” software from being lost and forgotten.”. I couldn’t believe that someone went through all this effort of reviving all those old games and making them available and accessible to all of us through the use of emulators.
The build
The cabinet
Having a crafty handyman as my father is, I couldn’t waste the opportunity to ask him for help. I would need a wood cabinet, and although I have done a bit of work myself throughout the years, I can not compete with the skill and years of experience my dad has. Luckily he agreed and all I needed to get were some schemes with the correct measurement of what exactly was that I needed.
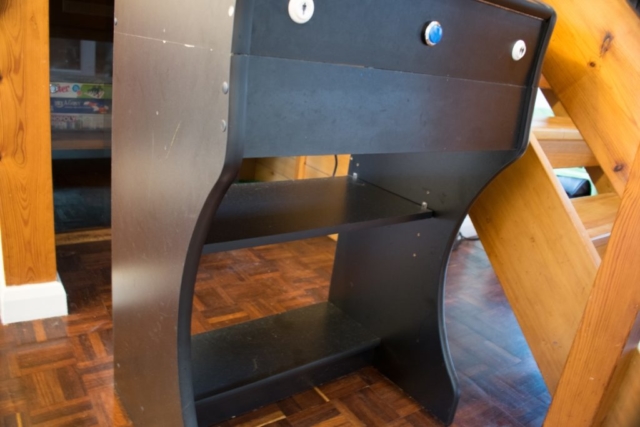
I decided to build a bartop. That is the name used to described a small arcade cabinet, that can be placed on top of a bar. This was mainly for storage convenience. However I also decided to build a detachable stand, so it could be used standing up.
Using a bartop meant that I would not have enough space in the cabinet for a CRT monitor. Although a lot of discussions exists about building an arcade with a TFT monitor does not really adheres to the true essence of the arcade, I had to consider that I would prefer a small cabinet that I could keep in my living room, instead of a large cabinet that would most likely be thrown into the garage as it would be taking to much living space.
After finishing all the woodwork with my dad in Portugal, during summer holidays (tbh he did most of the work himself) I brought it with me in the back seat of my car back to England, so I could start all the assembly and wiring needed.
The Components
There were a lot of components I needed in order to successfully complete the project. Some of them I had already. Some others I acquired during the cabinet build as I needed the measurements in order to plan the placement and make the holes in the wood. Some others, on the other hand, I had to acquired later on, as I realised I was gonna need them.
Here is a list of things I ended up using:
- The cabinet itself. The wood cost me 50£; The amount of man hours my dad put in was priceless!
- Plexy glass used to protect the monitor, as also a small strip to use as a marquee 30£;
- A print of a self-adherent marquee with the MAME lettering. 10£;
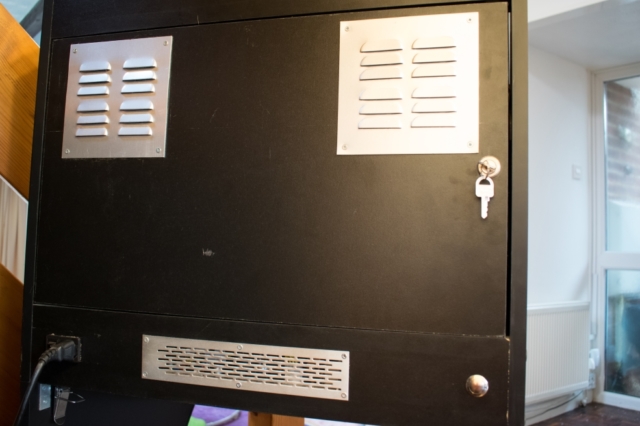
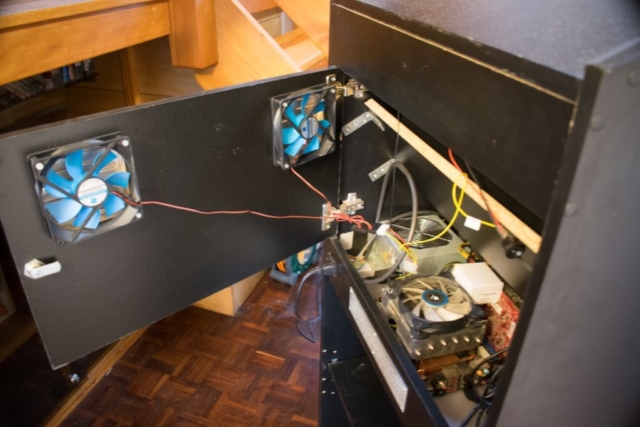
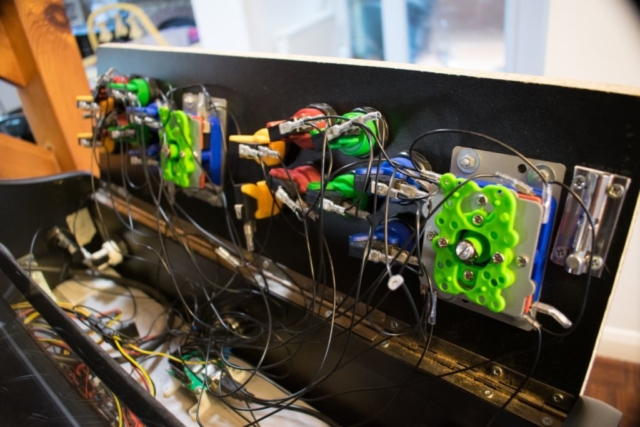
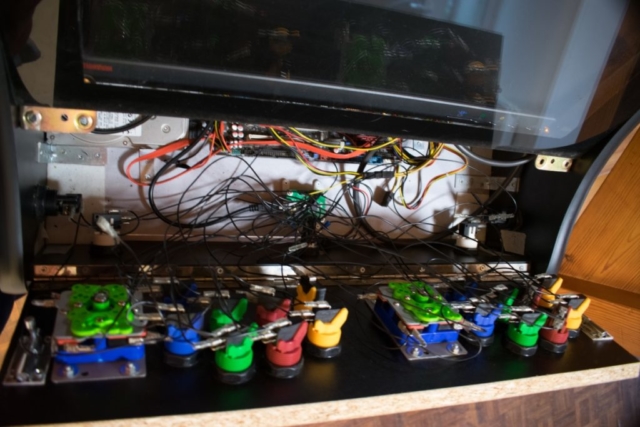
- A couple of hinges and a lock system to be able to access the inside of the cabinet through the back, and hinge and release mechanism for the board on the front where the controls stand. Cost me (If I remember correctly) 20£;
- PC Components (Motherboard, CPU, RAM, GPU, HDD). I already had these so that was free;
- PSU (Power Supply Unit) 0.99£ eBay;
- A TFT Monitor (I found Lenovo 22 Inch TFT on eBay for 15£);
- 2 small speakers to be placed within the marquee and 2 grills to cover them (8£ both);
- A 12V mini amplifier to power the speakers. A 12V would allow me to power it through the PSU (8£ eBay);
- A Cold Cathode (CC) light to illuminate the marquee. I used CC light so that the cabinet light would turn on and off using the PSU signal. That way it would be in sync with the PC (10£);
- 2 Extractor fans and 2 grids for the back of the cabinet 10£;
- An adapter mechanism to plug a power cable from the exterior of the cabinet and connect it to the PSU 5£;
- A push button for the back of the cabinet to start/stop the PC 15£;
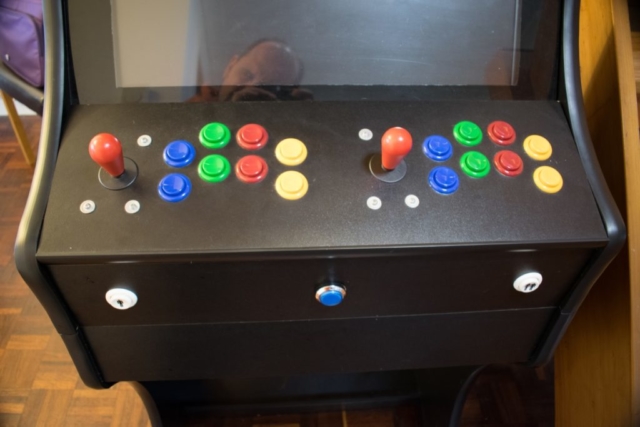
- A set of push buttons + joystick as a USB adapter to connect to the PC 49.99£;
- An illuminated pushbutton to allow for changing games. I only realised, later on, I needed this, so I also had to buy a drill to make the hole in the wood, as I didn’t have any in England 3£.
- Several cables, extensions and adapters needed for all sort of internal connections 15£;
- Risers, screws and washers to attach the Motherboard onto the base of the cabinet 1.99£;
Total cost of the cabinet, not including labour or any software was roughly: 252£
The Software
As previously stated, I used the MAME emulator alongside many ROM’s I found at Emu Paradise website. This awesome website allows you to find ROMs for all sort of emulators, not just the MAME emulator. I definitely recommend having a look.
I used Windows 7 as my OS. Although MAME has a Linux version, I wanted to have a scalable solution, so that if in the future I wanted to add any more emulators, or even, allow for using the Steam platform, I could do it effortlessly.
The last issue to decide would be the frontend. There are a lot of frontend solutions out there for this. I found this list where it explains each of them and even has some screenshots. I decided I would try the Hyperspin frontend. The reason for it was the strong active community and the strong feedback I kept seeing everywhere.
After the issues mentioned in the next chapters, I am now considering an alternative to Hyperspin, which in reality can be installed side by side. Maybe it presents to be easier to maintain and use. This alternative is Launchbox.
Hyperspin
Hyperspin proved to be a challenge. I had some problems until I could have a successful build:
- The installation and configuration were tricky. Although there are lots of step-by-step tutorials online that you can follow (not always up-to-date), it can be very laborious and present some challenges;
- Trying to collect all the videos and artwork collection for all the ROMs is a very time-consuming process. There is a plugin that will retrieve this automatically for you, but it required a paid account. I believe in supporting the community and all, but I had already gone over budget, and therefore couldn’t afford it;
- There is a known issue with Hyperspin controlling the spins that allow you to select the game. Mapping the joystick will work, but every now and again it will flip and never stop spinning. There is a workaround, using a paid software to map your joystick to a set of keys called x-padder, which I tried, but never really seemed to work correctly. Especially if you wanted it to start automatically on Windows boot and gracefully exit when switching off Hyperspin.
Artwork
As mentioned before Hyperspin requires you to download not just the ROMs, but also the small demo movies and artwork in order to present the games in a more visual manner.
For the artwork, you can get it at the downloads section on the Hyperspin website. After looking for your ROM either using the ROM filename or the actual game name, you should be getting a list of themes you can choose to download. There is a waiting period until the download starts. After that, you should save the theme in the “Themes” folder, configured in Hyperspin.
The movies you can get them through Emumovies website. They have a huge collection of demo movies for all sorts of emulators, so you may want to check it out. A search on their website shows you a bunch of packs you can download which contain an alphabetically sorted collection of several movies that you can map to your ROMs by their names. You will need to create an account to be able to continue.
As you can imagine, this can be a very laborious and time-consuming process, especially considering that each emulator can have more than 500 games. You can opt by using the paid Hyperspin sync module (Hypersync) which will do it all for you. However, you would require being a platinum member, which as a cost of 50$. This will also download the movies mentioned before. However this is an investment that would make me stick with Hyperspin forever, and due to the previous issues, I wasn’t sure it was something I was really convinced.
However this is an investment that would make me stick with Hyperspin forever, and due to the previous issues, I wasn’t sure it was something I was really convinced.
There are also a lot of preconfigured “packs” being sold out there, either using Hyperspin or any other frontend solutions. To be honest, the price they ask is not that bad, considering the hours you can lose in this.
Photos
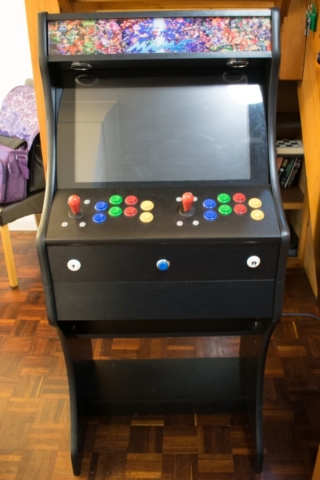
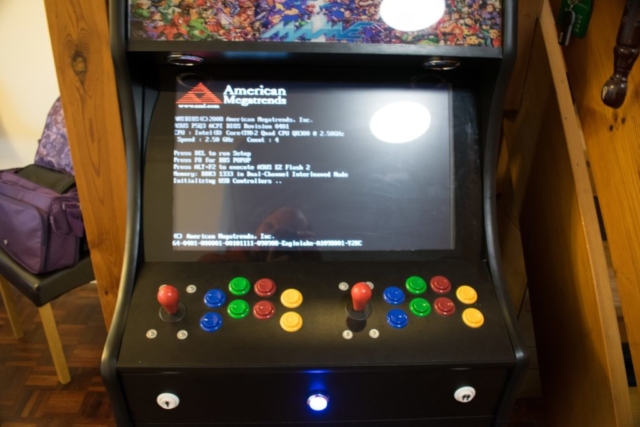
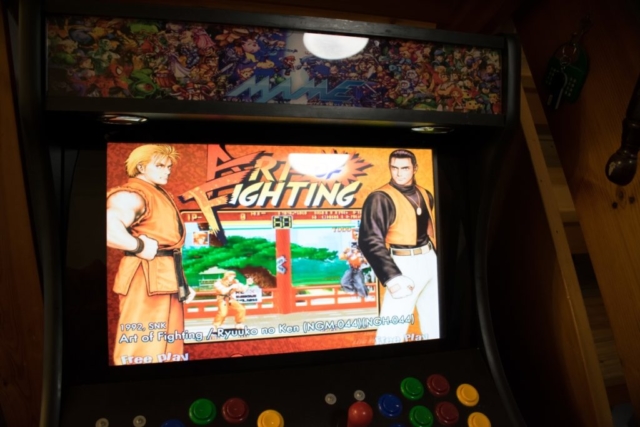
I am leaving you guys with some photos of the finished build. Unfortunately, I did not take any photos of the ongoing process.

